Introduction
You can find Styrofoam cups almost anywhere these days. They don’t weigh much, are affordable, and can keep drinks cold or hot. Whether you are hosting a party or running a coffee shop, branded Styrofoam cups can elevate your setup.
Yet printing Styrofoam isn’t like printing on paper or plastic. It’s essential to handle foam gently, as it becomes soft and may change when exposed to heat. Because the surface is slightly textured, not every printing method will be successful. However, you will likely get great prints with suitable tools and techniques.
We’ll walk you through everything, from deciding to print on Styrofoam to understanding all the tools and methods involved.
What Benefits Come from Printing on Styrofoam Cups?
First, let’s look at what printing offers. You could save money by buying plain cups, so why print on them?
Brand Visibility
When you operate a food- or beverage-serving business, printed paper cups double as advertising on your customers’ tables. Each time you hand out a branded cup, others see your logo, colors, or slogan. You get better visibility for your company, even without taking any extra action.
Professional Appearance
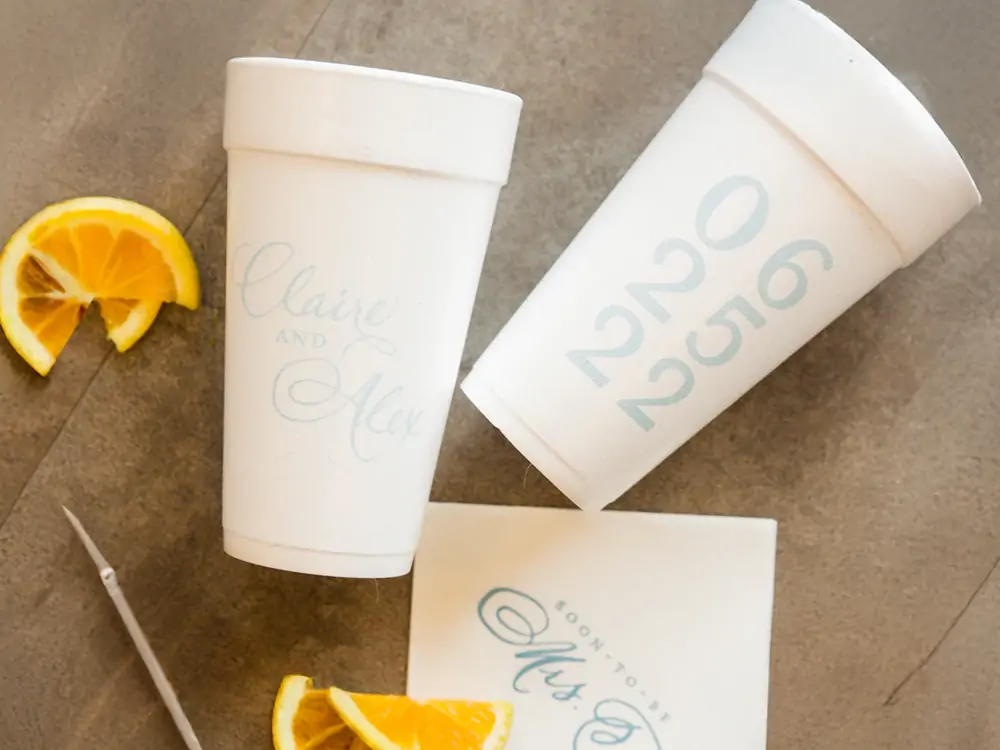
Printed cups help events look more organized. Wouldn’t it be great to see white event cups labeled with the event’s primary focus on essential occasions? It helps present your event professionally.
Customization
Would you like to make prints with funny quotes, greetings for each season, or party designs? Custom cups are a fun way to add personality to your event or company.
Can You Print on Styrofoam at Home?
Sure, you can! Still, the amount you’re making and the tools you have will determine your method. You can stick to easy home-based ways if you make fewer than 100 cups. When the job is large, you may need to hire a professional or borrow equipment.
Several Approaches to Add Printing to Styrofoam Cups
You can print on Styrofoam cups in one of three main ways. Every method has advantages and disadvantages and is best for specific situations.
You Can Make Your Own Stamped Art (DIY Way)
If you are on a tight budget, this is your option. Just stamp your design onto each cup.
Here’s what you require
- Order a custom rubber stamp online.
- Buy foam-safe ink (ink that won’t melt foam), not alcohol-based ink.
- Everyday foam cups
- A flat, clean work surface
How it is set up:
- You can create your logo or message with any easy-to-use graphic software.
- Choose a website to customize and order your rubber stamp.
- Be sure to use an ink that will not harm Styrofoam, as other kinds can cause damage.
- Place the stamp onto the cup and apply steady pressure as you go.
- Ensure the ink on the cups has dried before you put them on top of each other or begin using them.
Pros:
- Low cost
- Small amounts and home preparation are made easy with this.
Cons:
- Very time-consuming for larger quantities.
- No more than one color can be chosen for a design.
- Smudging can happen if you are not cautious.
- This is a great way to do testing for birthdays, small business trials, or test runs.
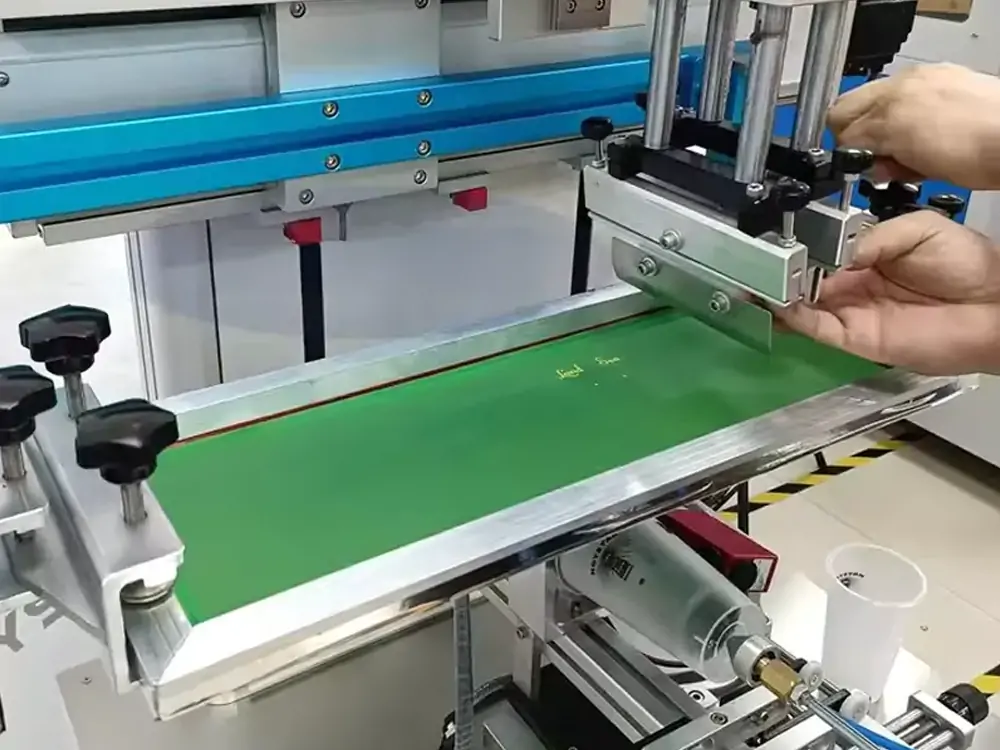
Semi-Professional Screen Printing
When you need more than a hundred cups, producing them with screen printing gives you more impressive results and will be completed faster. With this process, you use a screen with a mesh to print the ink.
The Things You Will Need
- You need to buy a screen printing frame and a squeegee
- Foam-safe ink
- A gadget that holds your cup in place
- A UV lamp or a heat gun
How it works
- A stencil is made from the design and then pressed onto the screen.
- Using a squeegee, the ink is pulled over the screen so the open areas let the ink cover the cup underneath.
- The cup will dry if given either air or gentle heat to speed up the process.
Pros:
- Improved print results
- Fewer unexpected results
- Much faster for larger runs
Cons:
- You need to set up and gather the tools first.
- The process involves a bit of skill.
- Since every color is processed separately, a separate screen is needed for each color.
- An increasing number of event planners and small businesses choose this setup.
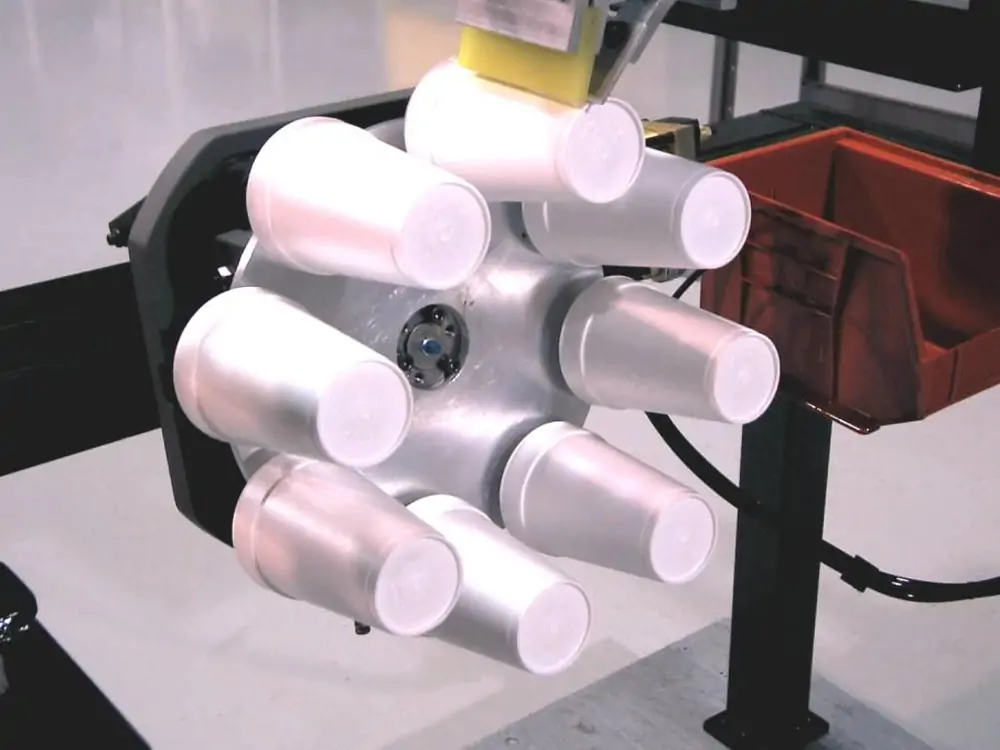
Flexographic printing is a large-scale printing method
Thousands of cups are produced using this production technique. The machine applies a design to flat foam sheets in preparation for molding them into cups.
Key Features:
- Today, these companies are equipped with flexographic and rotary presses.
- Prints quickly, whether it’s for just a few or many copies
- Handles a wide range of colors and offers details in designs
Pros:
- Running at speed and consistency
- The superb quality of the print
- The lowest cost for a cup when made on a large scale
Cons:
- This isn’t made for household machines.
- You have to spend a lot at the start.
- It is effective only for large numbers of cups.
- Most suppliers will use this process when creating branded cups for sale in your store or for your product launch.
Tips to Get the Best Results
Styrofoam is easy to damage. To prevent errors and loss in terms of your email, use these tips:
Don’t rush: Don’t print all your cups until you’ve tested one or two with your design and ink. Use a gentle hand when handling the foam, as it dents easily. Use enough pressure to get the ink into the cup, but don’t press so hard that it changes shape.
Let Each Side Dry Completely: Remember that even quick-dry ink needs time to dry. Cups with printing should be left to dry for at least 15 minutes.
Stick to Simplicity: Don’t include thin lines, small details, or tiny characters. Foam looks better when the designs are bold and easy to see. Keep your hands clean to avoid altering the ink spread or the appearance of your cup.
Couldn’t I Just Print with a Standard Printer?
Inkjet and laser devices in your home aren’t designed to use foam cups. Not only do they come in round shapes, but they start to melt as soon as the heat from a laser printer gets to them.
DIY vs. Hiring a Pro: Which Is Right for You?
Here’s a quick decision guide:
| Number of Cups | Best Method | Do It Yourself? |
|---|---|---|
| 10–100 | Manual stamping | Yes |
| 100–1,000 | Screen printing | Maybe |
| 1,000+ | Flexographic printing | No |
DIY is great for parties, hobbies, or small test runs. For anything more serious, it may be worth partnering with a printing company.
Final Thoughts
You can make any drink more unique by printing it on a Styrofoam cup. Whether you need invitations or a coffee brand launch, there are printing methods that meet your needs without breaking the bank. Try out your project with some material and check that everything is set up before using more. Once-tech.com can guide you through selecting the best way and contacting suppliers.